 |
LA6NCA LA6NCA - 12A6, SI5351 CW Transmitter |
 |
|
LA6NCA LA6NCA - 12A6, SI5351 CW Transmitter |
|
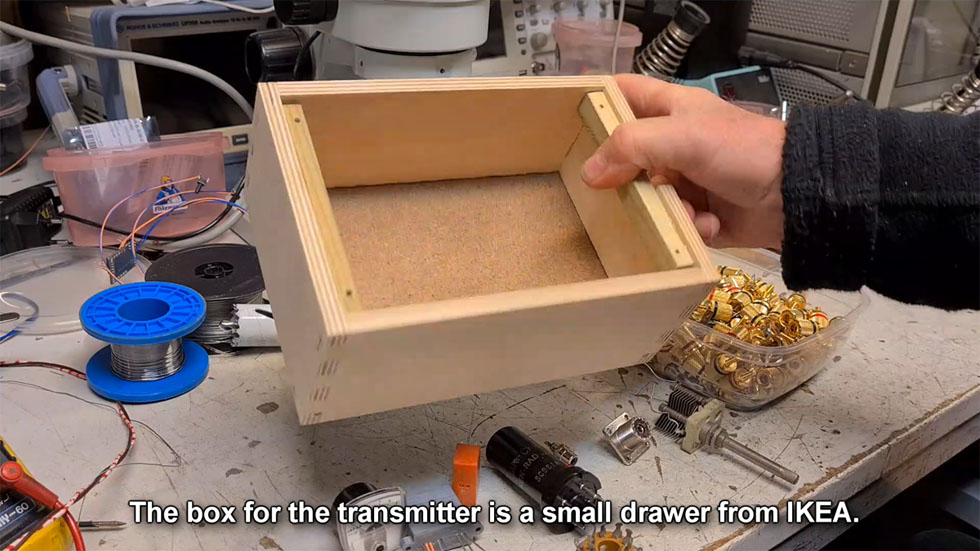
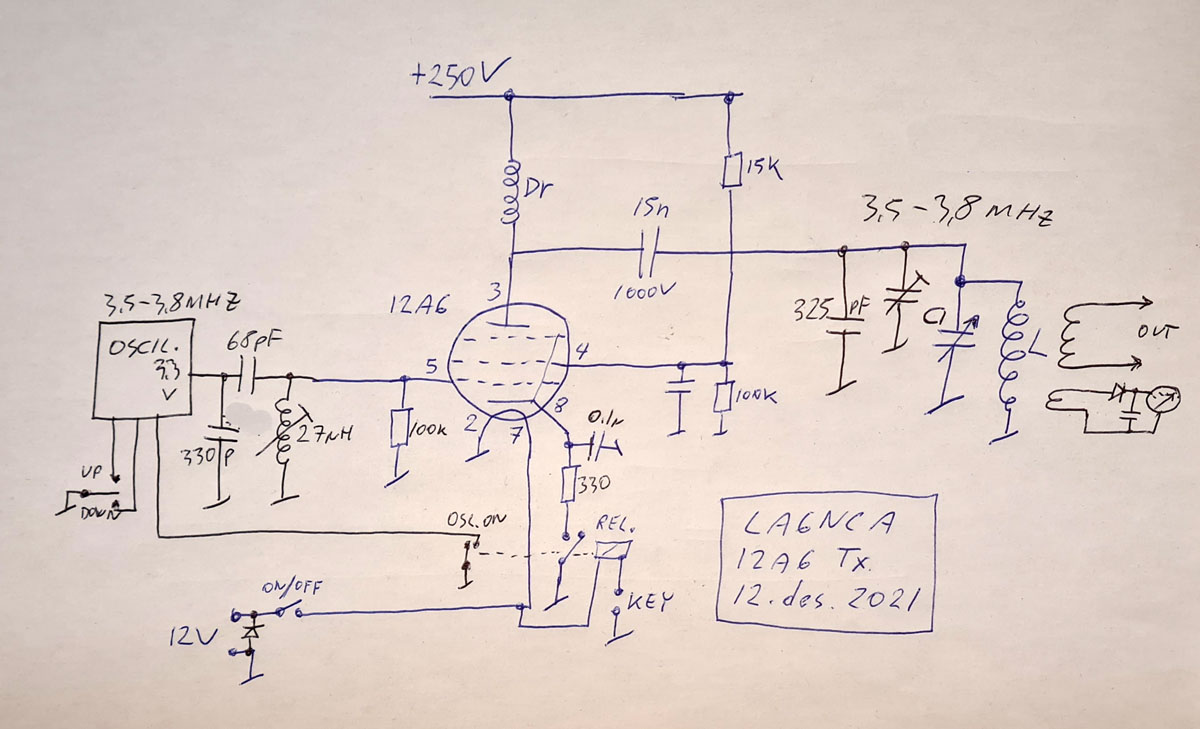
| I have designed a new
transmitter for 80 meter CW. The oscillator consists of a modern SI5351 and output stage consists of a tube 12A6. |

I just had my first QSO
with this nice little transmitter.
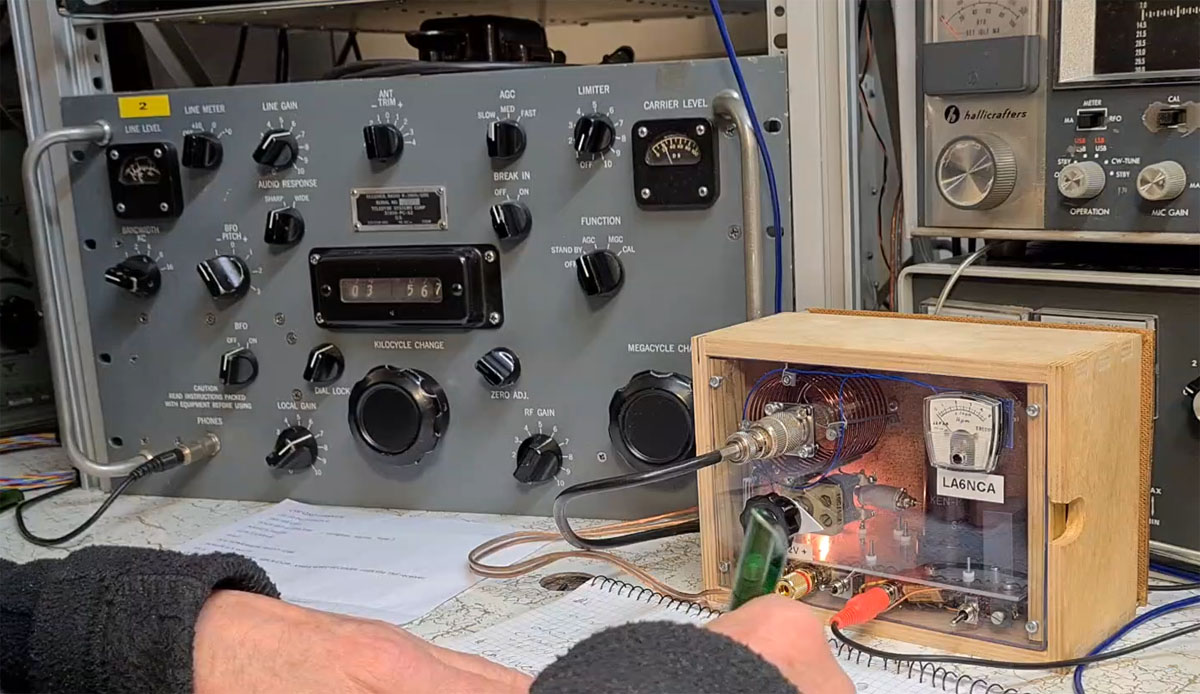
It is used here with my R390A receiver.

The whole project
started when I got 223 pieces of tube 12A6.
What should I use them for?
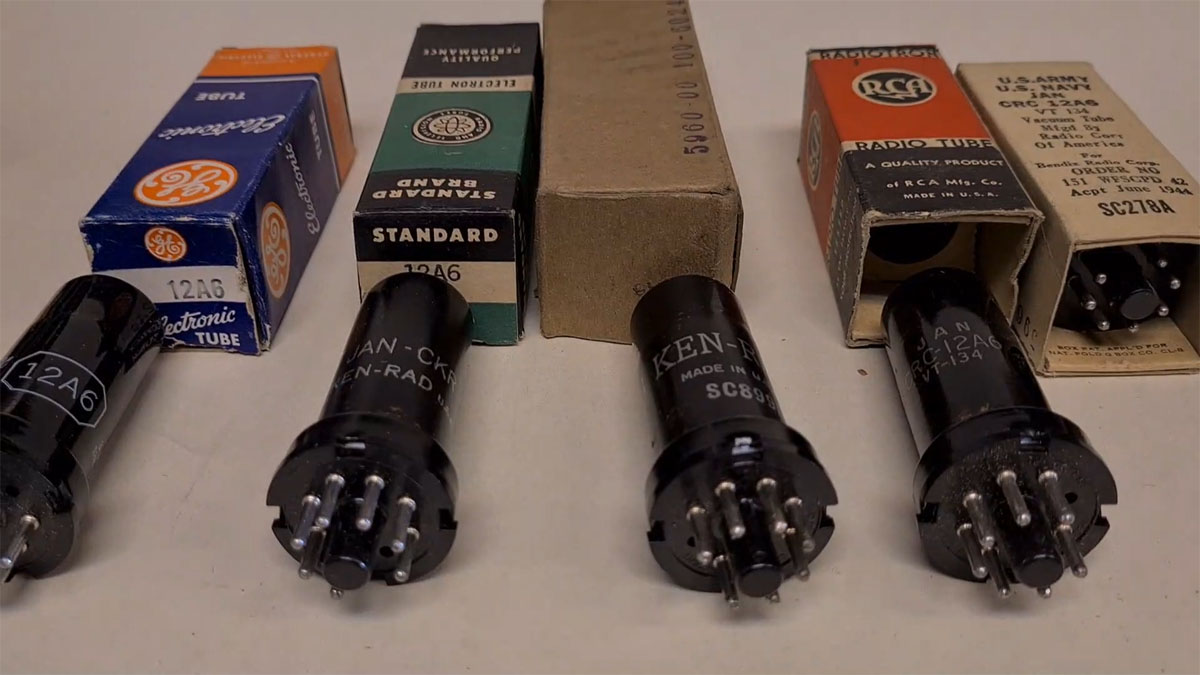
Different makes of the same tube.
I want to design a
transmitter with both old and new technology.
Modern oscillator and old amplifier.
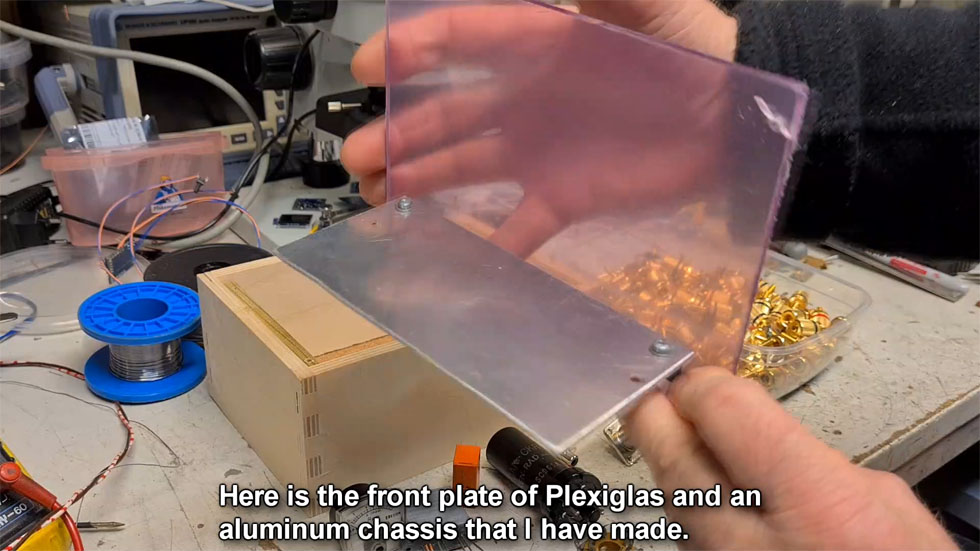
Here I have started
assembling the components.
The Coil is mounted on 3D printed holders.
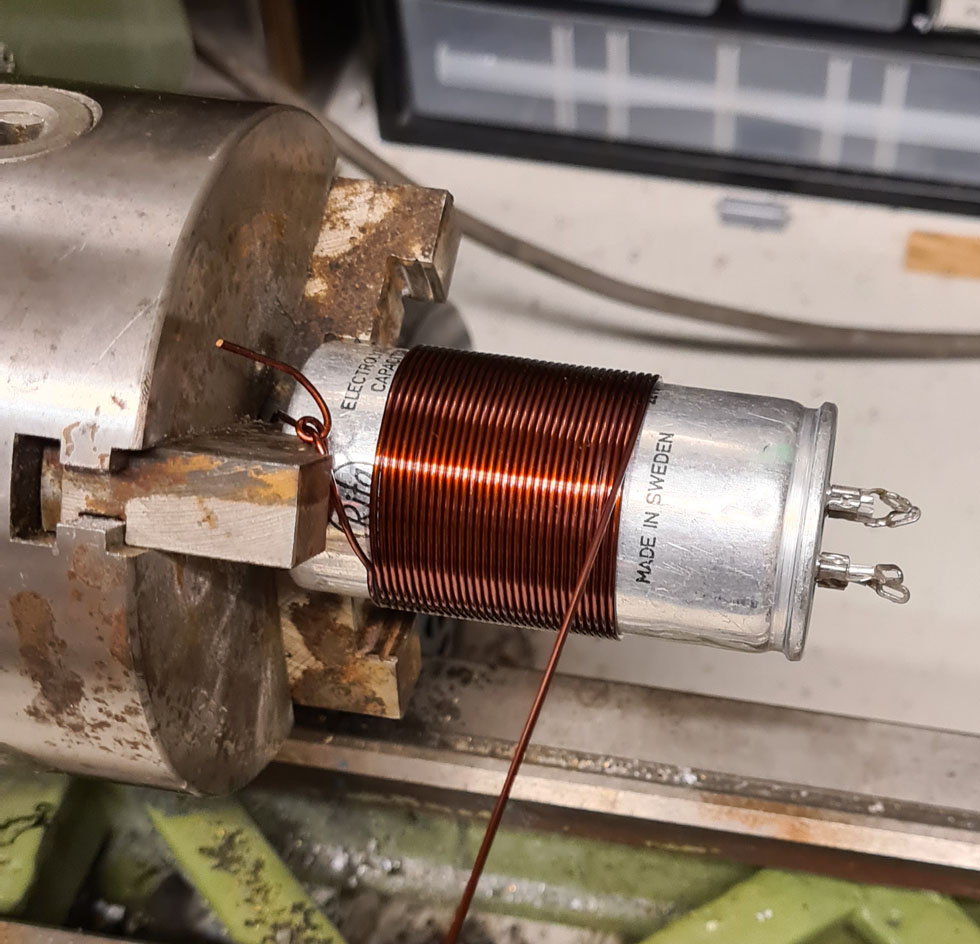
I wind up the coil on an
old capacitor.
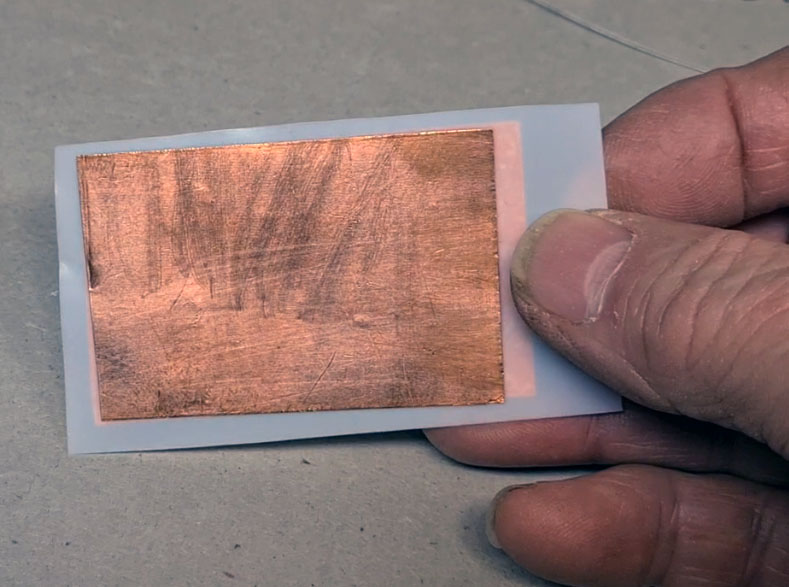
| I have designed my
own capacitor. It is copper tape glued to Teflon. This gives a capacitor with a very high Q. It can also withstand very high voltage. |
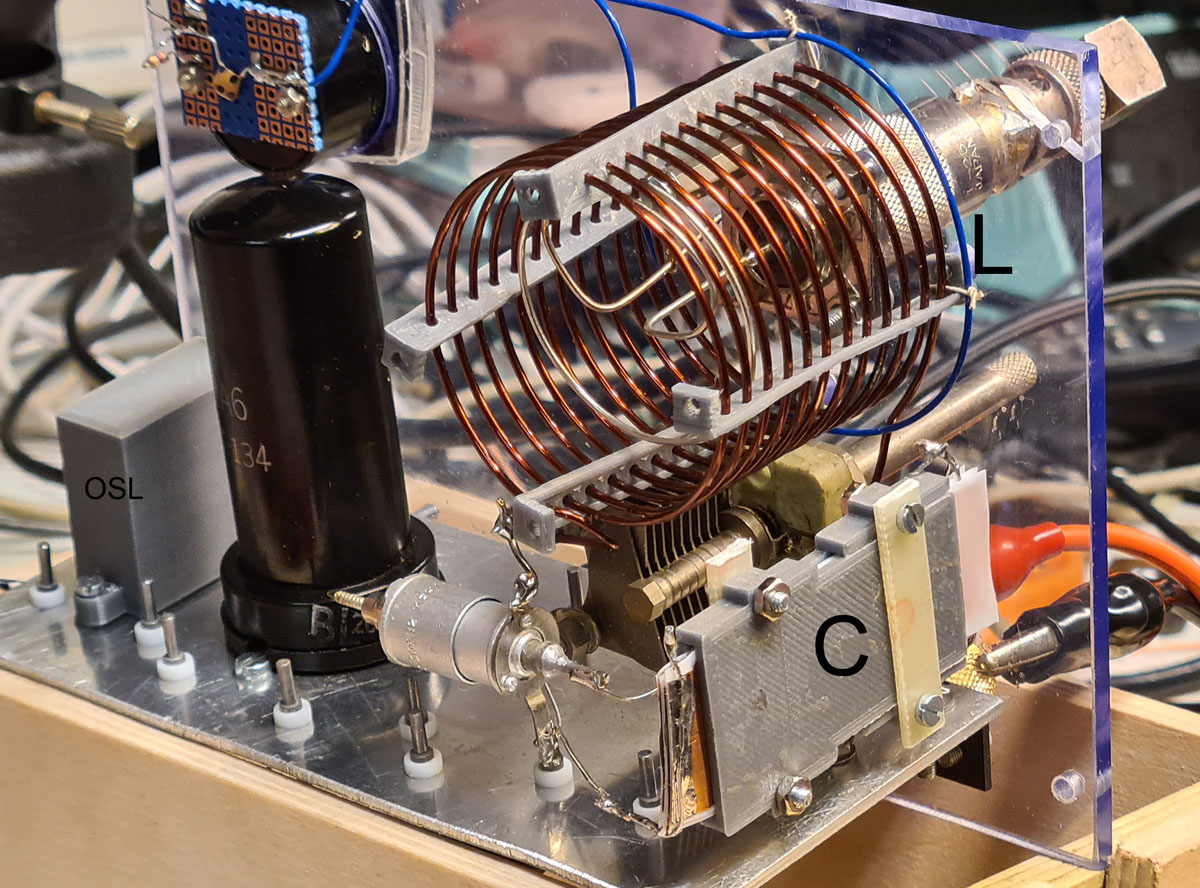
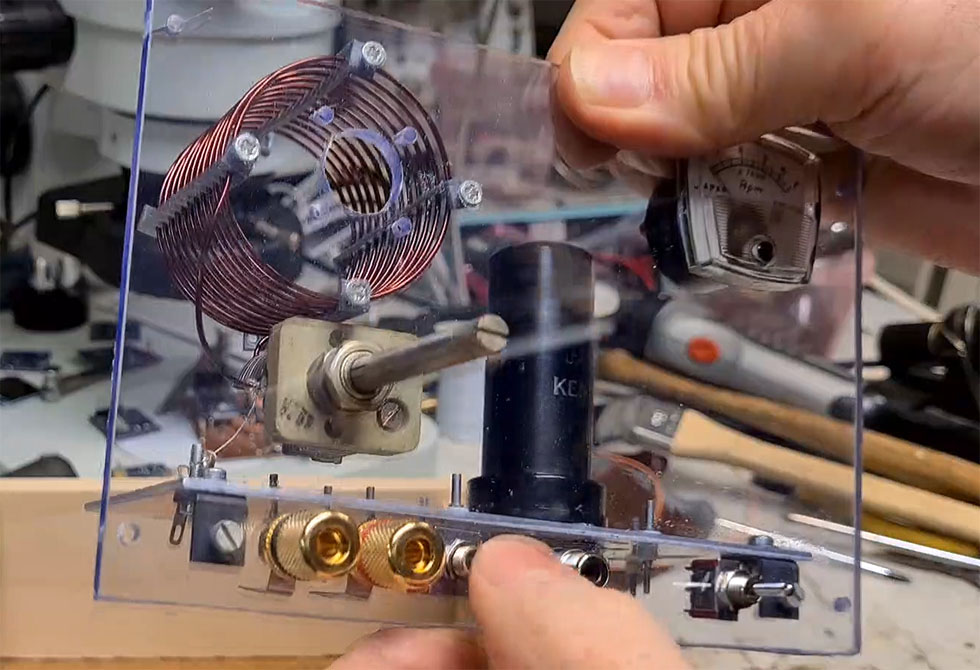
| To the left we see
the oscillator fully assembled. We also see the coil with the 3D printed holders. And we see the capacitor fully assembled. |
Here we see all the
small components needed to build a transmitter.
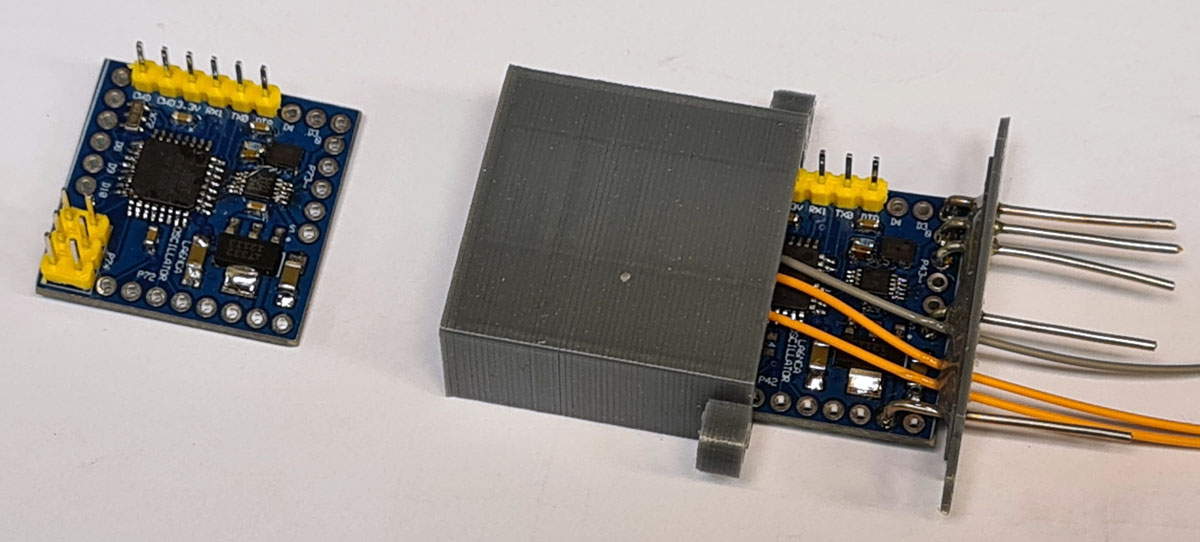
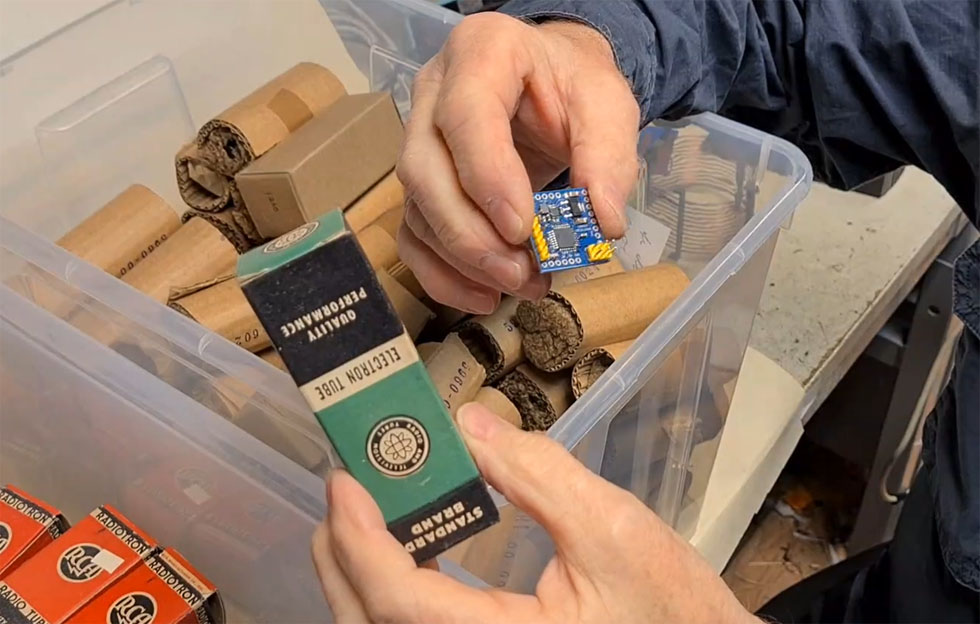
My SI5351 and ATmega328
(ProMini) circuit board mounted in a 3D printed box.
The box looks like an old-fashioned crystal.
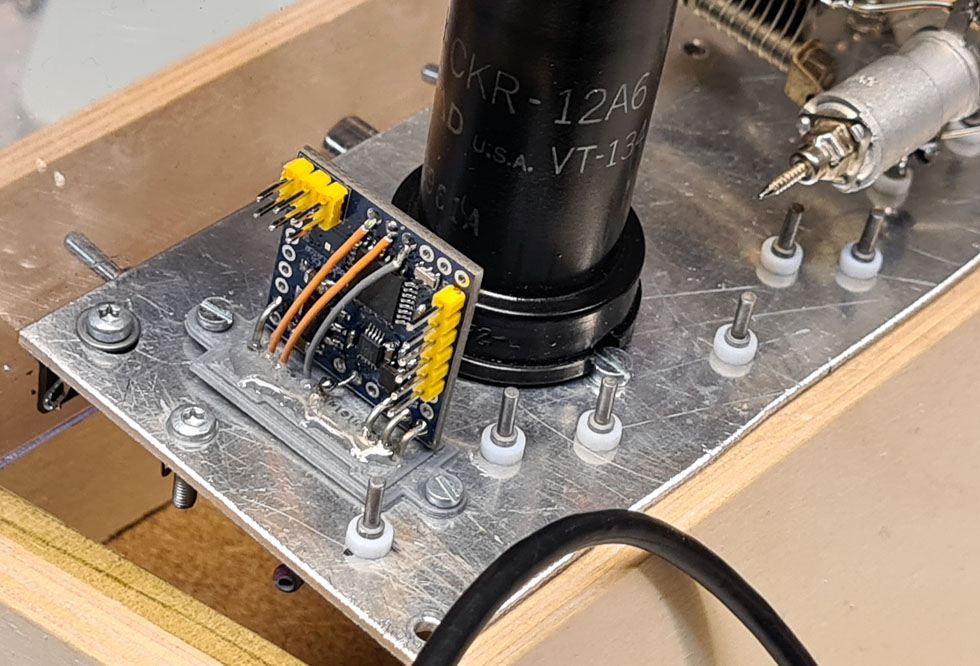
SI5351 mounted on the
transmitter.
The yellow connector on the right is the Arduino USB programming
port.
I am writing software
for the SI5351 oscillator.
The small circuit board I have plugged into the oscillator is the
USB interface.
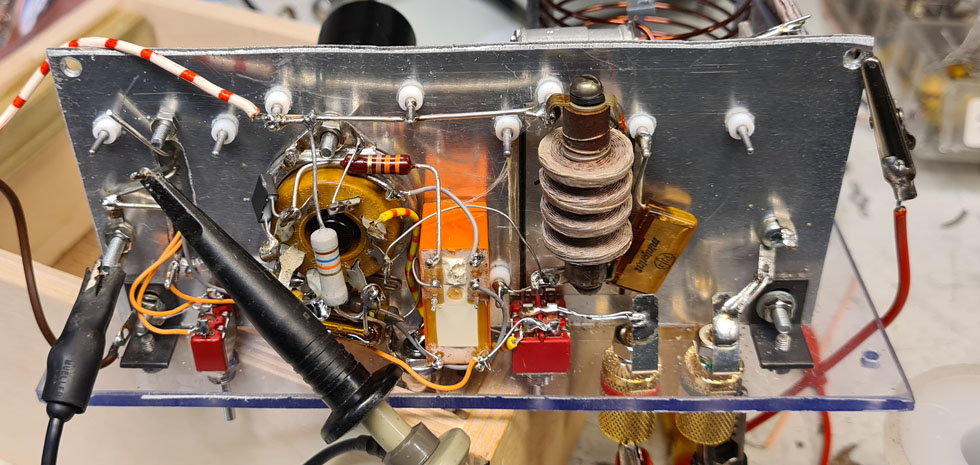
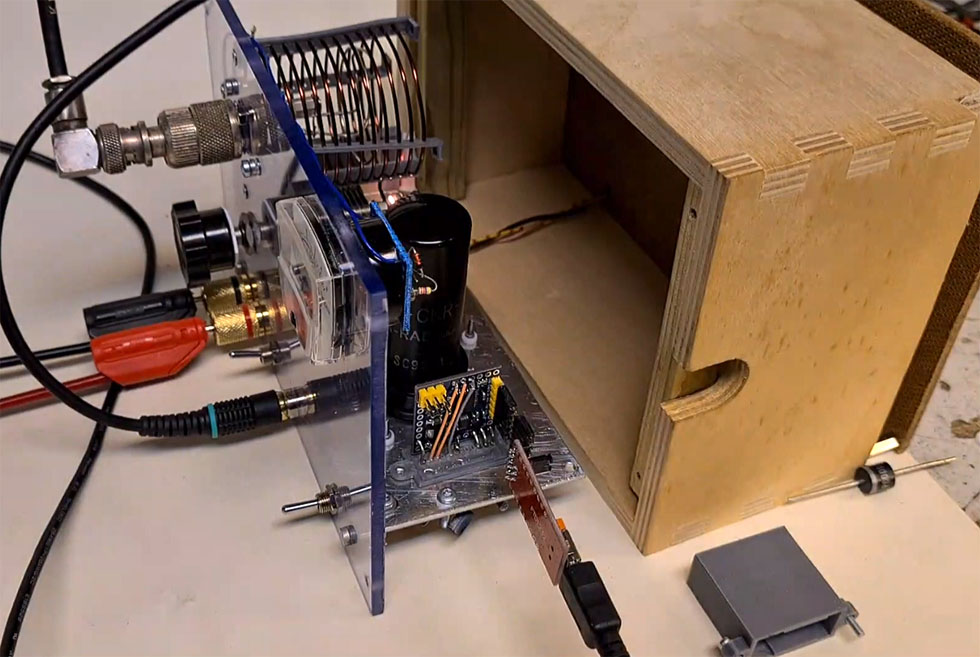
| The complete transmitter. We see the oscillator with up / down switch. The oscillator here also a signal from the key relay. This starts the oscillator and keeps it running 0.5 sec after key down. Between the oscillator and 12A6 we have a voltage amplifier circuit with coils and capacitors. On the far right we see the voltage meter to measure the output signal. |
HACKADAY
https://hackaday.com/2022/02/27/retro-and-new-tech-combine-in-this-hybrid-ham-transmitter/